Configuring Lane Profiles
Last updated: May 6, 2026
Who Can Create or Edit a Lane Profile?
Before getting started, it’s important to understand permissions:
Admins can create, edit, duplicate, and delete Lane Profiles
Members have view-only access to Lane Profiles
External Users do not have access to Lane Profiles
In addition to role:
The Lane Profile feature must be enabled under Configuration in your User Access Group
Summary:
Only users with Admin role + Lane Profile feature enabled can create or edit lanes.
How to Create a Lane profile
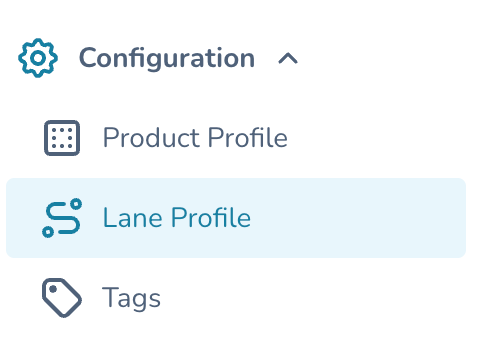
1. To create or edit a Lane Profile, Navigate to Configurations in the Main Menu and select Lane Profile.
2. Select the button on the top left of the screen to create a new Lane Profile.

3. Enter the Primary Parameters.
Transportation Mode: Select Air, Ocean, or Road
Description: Optional
Tags: Add existing tags or select Manage tags to create new ones
Stops Configuration
Set the Geofence Radius
Enter the Origin and Destination Details
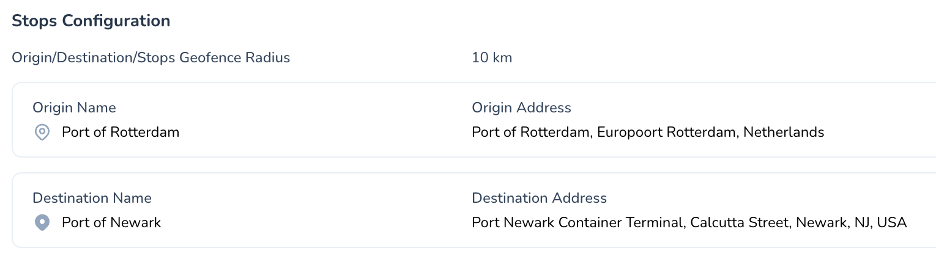
For each stop:
Enter Stop Name
Select Stop Type (Warehouse, Airport, Port, or Stop)
Enter Stop Address
You can add multiple stops or remove them using the “x” icon
Device and Performance Configuration: Temperature
Temperature ranges auto-populate from the Product Profile

Configure Deviation Triggers:
At Origin
In-Transit
At Destination

If a location is not selected, temperature data will not trigger alerts or be used in Product Release. Many organizations have policies to omit temperature reading at Origin and/or Destination. If this is the case, please select only In Transit.
Turn the toggle off if you do not want to track temperature deviations
Set the Lane Performance Threshold

Device and Performance Configuration: Delay
Navigate back to the top of the Device and Performance Configuration section and Select the Delay tab.

Enter the Expected Transit Time in Hours. This value will be used to determine if a shipment is late / delayed. Once a shipment is moved into In Transit status, this will start the clock for expected transit time. Once the time expires, if the shipment is still in transit, it will be displayed at Delayed.

Set the Deviation Trigger to On or Off (Blue with the circle on the right is set to on). If set to off, the system will not display shipment delays. Delays are only applicable to the In-Transit state. If the Tigger is active, In Transit should remain selected.

Set the Lane Performance Threshold

Device and Performance Configuration: Device
Set Ping Rate (default is 60 if not specified)
Set Max Missed Ping Limit: Maximum number of consecutive tracking device communication cycles that can be missed before triggering a notification.
Configure Deviation Triggers and applicable shipment states
Adjust Performance Thresholds: What percentage of shipments should meet you expected standard?

Additional configurations:
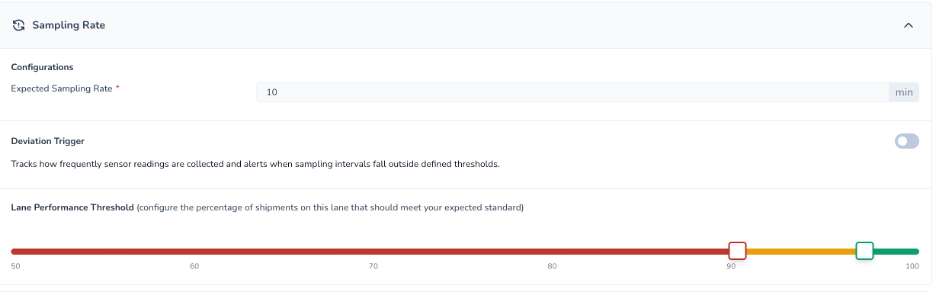
Configure the Sampling Rate: Click the arrow to expand the form. Set the expected sampling rate. This is the frequency that your device is set to collect measurements of location and temperature. This setting should match the configuration on your IoT device. Then select if you want to turn the deviation trigger on or off, and configure your performance thresholds.
Configure Battery level settings: Set the expected Start and End battery levels. These is the amount you expect each device to be charged at the start and the end of your shipment. Defaults will be set to 90% at start and 25% at the end of a shipment. You should also configure the Minimum battery level (to trigger a deviation). These setting should match your organizational SOP’s and can be used to track adherence to charging process, and your device health over time.
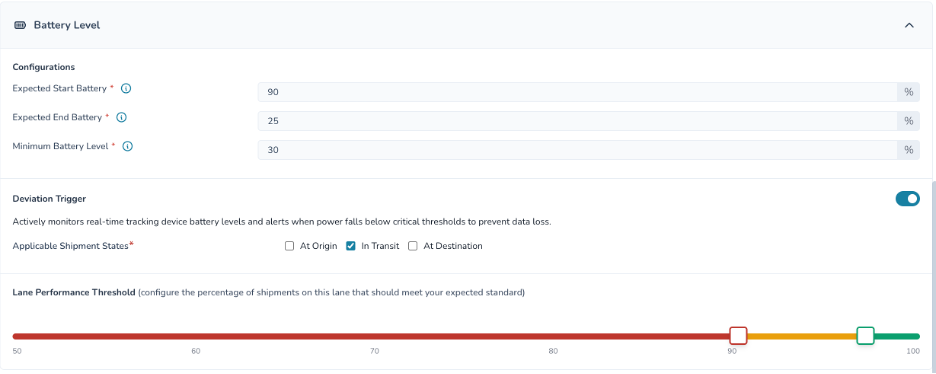
Then set your Deviation trigger to on if you would like to receive notifications, and select where you want deviation triggers to occur (At Origin, In-Transit, At Destination). Finally set your Lane Performance Threshold by dragging the colored boxes on the line.
Device and Performance Configuration: Geofence
Configure for what will happen when a shipment is stopped. Set the number of hours a shipment can stop on this lane before receiving a notification and select whether you want to turn this notification on or off.

Route Geofence: Turn this on if you would like PAXAFE to automatically detect when a shipment on this lane deviates from the expected shipment path. Leave this off if you do not want to be notified when a shipment deviates from its expected route.

Custom Geofence: Set this on to automatically create virtual geofences and trigger alerts when a shipment enters or exits these defined areas. Leave this off if you do not wish to PAXAFE to auto detect and alert on new stops.

Device and Performance Configuration: Product & Package
Set the Validated Shipper Thermal Life. This will be used to track time against thermal life on a live shipment. Then set the Minimum Thermal Life Threshold. If this threshold is exceeded, the system will trigger a deviation and notification. Then, turn these capabilities on or off by setting the Deviation Trigger.
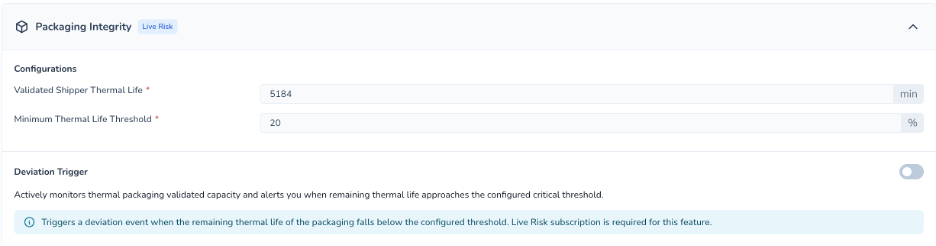
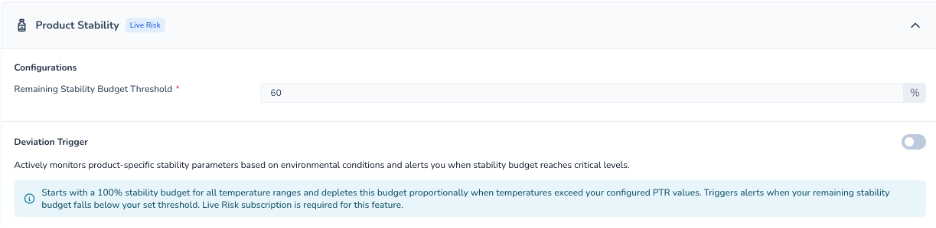
Configure for Product Stability: Set the remaining stability budget threshold. Based on the time in the Product’s PTR range, the system will trigger a deviation on this lane when that threshold is exceeded.
Deviation and Performance Configuration: Additional Sensors
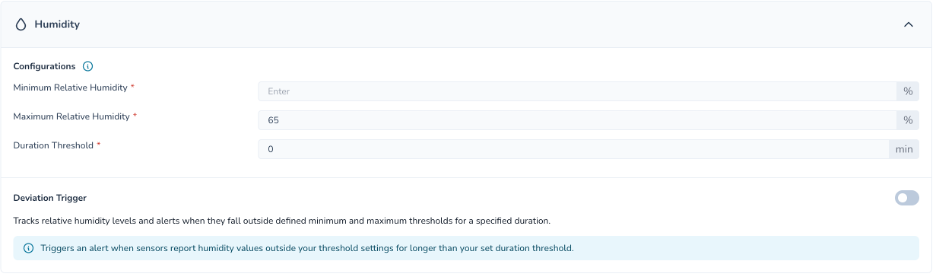
Configure for humidity: Leave this off if you do not want to create humidity based deviations and alerts. If you are tracking humidity, set your minimum relative humidity, maximum relative humidity, and duration threshold. Then turn the Deviation Trigger on or off.
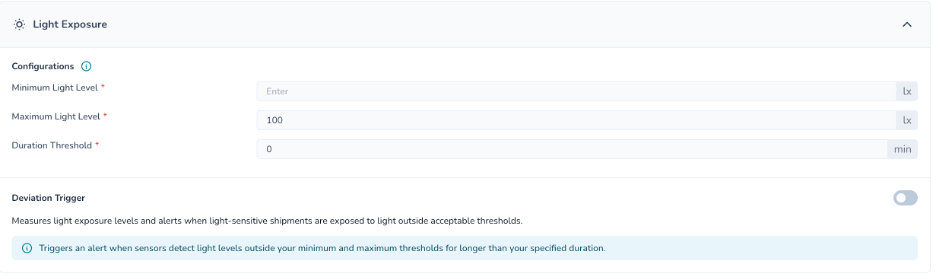
Configure for Light Exposure: Leave this off if you do not want to create light based deviations and alerts. If you are tracking light events, set your minimum light level, maximum light level, and duration threshold. Then turn the deviation trigger on or off.
Finalizing the Lane Profile
Click Review
Confirm all settings
Click Save
Your Lane Profile is now configured
Managing Existing Lane Profiles
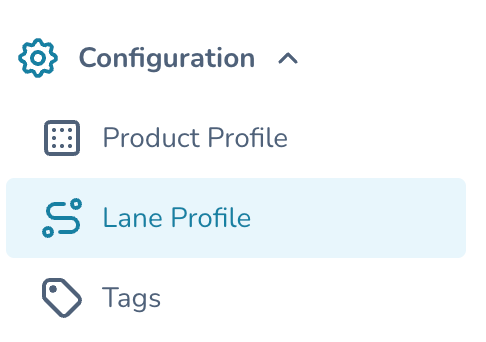
Navigate to Configuration in the Main Menu, then select Lane Profile
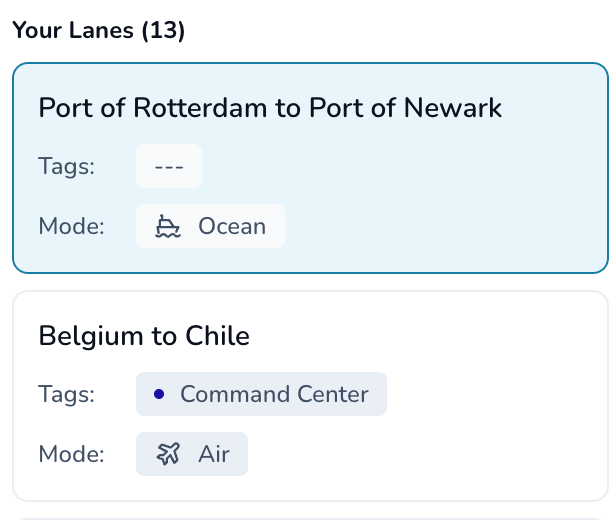
Select the lane you wish to edit.
Select the icon to perform your desired action.
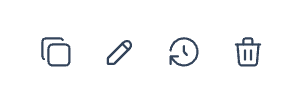
Duplicate a Lane Profile.

Edit a Lane Profile

View Activity History (Audit Log)

Delete a Lane Profile

Quick Tip
If you don’t see the option to create or edit a Lane Profile:
Confirm you are an Admin
Confirm the Lane Profile feature is enabled in your User Access Group