Understanding and Configuring Product Profiles
Last updated: May 11, 2026
V1.2
Introduction
Product Profiles allow you to document product details and define temperature requirements for proper handling and monitoring of temperature-sensitive products.
Note: The Product Profile feature is available to Admin and Member roles only. External Users do not have access to this feature.
What is a Product Profile?
A Product Profile is a configuration that defines:
Basic information — product name and optional description
STR (Shipping Temperature Range) — the temperature limits that apply for shipping under this profile
PTR (Proven Temperature Range) — one or more ranges that describe how temperature excursions are evaluated (including time limits where configured)
Tags — optional labels for organization, filtering, and reporting
Profiles are reusable: you select or assign them on shipments (and related flows) so temperature rules stay consistent with how your organization defined that product.
How Product Profiles Are Used in the Platform
Product profiles define the temperature rules the platform uses when processing shipments for your organization, consistent with how your tenant was onboarded and how lanes and products are set up in your environment.
Temperature-related behavior you see in the product (for example, risk or shipment status language that references temperature) assumes that the right product profile is assigned and that ranges match what was agreed during onboarding and configuration. If something looks wrong, first confirm the shipment has the expected product profile and that STR/PTR values match your quality requirements.
For how Live Risk or other modules use temperature with your specific integration, see the linked articles for those topics (your knowledge base may describe setup by integration or version).
User Roles & Permissions
Access to Product Profile features depends on your assigned role:
Capability | Admin | Member | External user |
|---|---|---|---|
Create product profile | Yes | No | No |
View product profile | Yes | Yes | No |
Edit product profile | Yes | No | No |
Delete product profile | Yes | No | No |
Assign or remove tags | Yes | No | No |
Search and filter profiles | Yes | Yes | No |
Note: External Users do not have access to the Product Profile feature.
STR — Shipping Temperature Range
STR is the primary temperature window for the product under this profile for shipping use — in other words, the range the product is expected to stay within during transport for this definition.
Preset ranges
The product may offer common industry categories (for example cryogenic, frozen, chilled, CRT variants). Choose the one that matches your specification, or use Custom if your limits are not represented by a preset.
Custom STR
If you use Custom, you set explicit minimum and maximum temperatures (°C).
Reading boundaries (important)
The profile screen may show comparison operators next to STR values (for example greater-than, less-than, greater-than-or-equal, less-than-or-equal). Those symbols define whether a reading exactly on the boundary (for example exactly 8.0 °C) counts as inside or outside the allowed range. Always follow what is shown on the profile in your environment.
PTR — Proven Temperature Range
PTR describes additional temperature bands used to evaluate exposure — for example excursion behavior — according to how your organization configured the profile. A profile can include multiple PTR rows (up to the limit your product allows).
For each PTR row, you may configure:
Range name — label for that band (for example “Below −40 °C” or “2 to 8 °C”)
Temperature bounds — minimum and/or maximum (°C), which may be open-ended depending on configuration
Duration — how long exposure in that band is allowed before it matters for evaluation (when duration applies in your setup)
Duration type
Immediate — evaluation is tied to how entering or being in that band is defined, rather than accumulating time across the trip.
Cumulative — exposure adds up over time across the journey (within whatever limits your rules imply).
How to read PTR with STR
STR is usually the main “in transit” window; PTR rows add finer rules for specific bands and durations. Together they should match your quality or stability documentation. If PTR rows seem to conflict with STR, an admin should review the profile with your quality team — support cannot reinterpret regulated definitions for your product.
Continuous coverage across STR and PTR (why it matters)
Temperature rules in a product profile only work well when the profile defines what every meaningful temperature means for that product definition.
What we mean by “continuous”
For the temperatures your operation actually cares about (from the coldest credible exposure through the warmest), the profile’s STR and PTR bands should cover that span in one clear story: any realistic reading should map to at least one defined band, and in normal design it should map to exactly one band for excursion logic, so there is no “nowhere” for a reading to land.
Adjacent bands should meet at boundaries in a way that matches the comparison operators shown in CONTXT (for example inclusive vs exclusive at 8.0 °C or 14.5 °C). If two bands overlap so the same temperature satisfies both, users and the platform may not interpret the excursion the same way every time — which is risky for operations and audits.
Why gaps are a problem
If a reading falls between defined bands or outside all PTR/STR semantics you intended, then:
It is unclear which rule applies (stability budget, duration, immediate vs cumulative behavior).
Risk or release language may not match what your quality team expected.
Troubleshooting becomes subjective (“we think this reading should count as…”) instead of defined by configuration.
Why overlaps are a problem
Overlapping intervals can make two different rows “true” at once for the same temperature (for example 14.5 °C in two PTR rows). Then it may be ambiguous which duration, which severity, and which interpretation applies. For regulated use, profiles should usually be designed so bands partition the line (no double coverage) or so overlaps are explicitly intended and documented — not accidental.
Practical guidance for admins
When building or changing a profile, work with your quality / stability owner to:
Cover the full operating range you need with no unintentional gaps.
Avoid unintentional overlaps unless your SOP defines how to resolve them.
Align boundaries and operators with your approved specification so values on the lineBetween bands (e.g. 14.5 °C) are unambiguous.
Example: Chilled product (2–8 °C) with PTR bands
Imagine a product whose STR is 2–8 °C inclusive. For excursions, your quality team defines PTR bands that describe what happens below, inside, and above that window.
A. Good — continuous coverage, no accidental overlap
You define PTR rows so every realistic temperature falls in exactly one band, with boundaries that line up:
PTR row (conceptual) | Temperature band | Notes |
|---|---|---|
“Below shipping range” | -20–2 °C | Hypothermic excursion band |
“In shipping range” | 2–8 °C | Aligns with STR |
“Above shipping range” | 8–20 °C | Hyperthermic excursion band |
A reading of 1.5 °C lands clearly in “below.” 5 °C lands in “in range.” 14.5 °C lands clearly in “above.” A reading There is no gap between bands and no double coverage at 8.0 °C or 2.0 °C because the operators (≤, <, ≥, >) are set so only one row applies on the boundary.
B. Bad — a gap
Suppose someone configures PTR as:
“Below range”: strictly below 2 °C
“Above range”: strictly above 8 °C
…but forgets a row for 2–8 °C or leaves a hole (for example “below 2” and “above 8” but nothing for exactly 2.0 if operators exclude it). Then a device might report 2.0 °C or 8.0 °C and it’s unclear which PTR rule applies, even though STR says those values are “in range.” That ambiguity is what “not continuous” means in practice.
C. Bad — overlap at the same temperature
Suppose two PTR rows both include 14.5 °C, for example:
Row 1: 10–20 °C, cumulative 30 minutes
Row 2: 14–25 °C, immediate
For a 14.5 °C reading, both rows match. It’s unclear whether the 30-minute cumulative rule or the immediate rule controls, and whether the event is one severity or another. That’s why profiles should usually avoid accidental overlaps unless your procedure explicitly says how to break the tie.
D. Worked example: reading of 8.5 °C (2–8 °C STR)
Assume the product’s STR is 2–8 °C for shipping (exact meaning depends on the operators shown in CONTXT for example whether 8.0 °C is still “in range” or “out of range”).
A logger reports 8.5 °C.
What this usually means conceptually
8.5 °C is above the upper limit of a nominal 2–8 °C shipping window, so it does not represent “in-spec” storage for that STR in the classic 2–8 interpretation.
In a profile with continuous PTR coverage, that reading should fall in a single excursion band you defined for temperatures above the allowed shipping range (for example “above 8 °C” or similar), not in the “in shipping range” row.
Why the operators matter
If the STR uses ≤ 8 °C as the upper bound, then 8.5 °C is clearly outside STR.
If the UI showed a different boundary rule, you follow what is configured—the important part for the article is: 8.5 °C is interpreted only through the STR/PTR rows and operators shown for your profile, not by guessing.
What you should not assume
Do not assume 8.5 °C “counts as 8 °C” or “rounds into range.”
Do not assume which PTR row applies if your bands overlap near 8 °C—fix the profile so one row owns that region.
Creating a Product Profile (Admin only)
Follow the steps below to create a new Product Profile in CONTXT.
Creating a Product Profile
To create a new Product Profile:
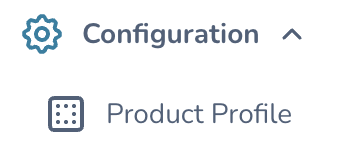
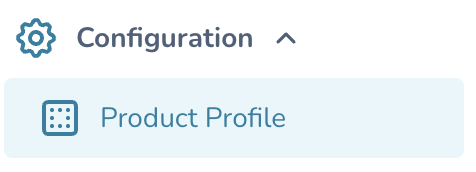
1. Navigate to the Configuration > Product Profile section in the main menu
2. Click "New Product Profile"

3. Complete the following sections:
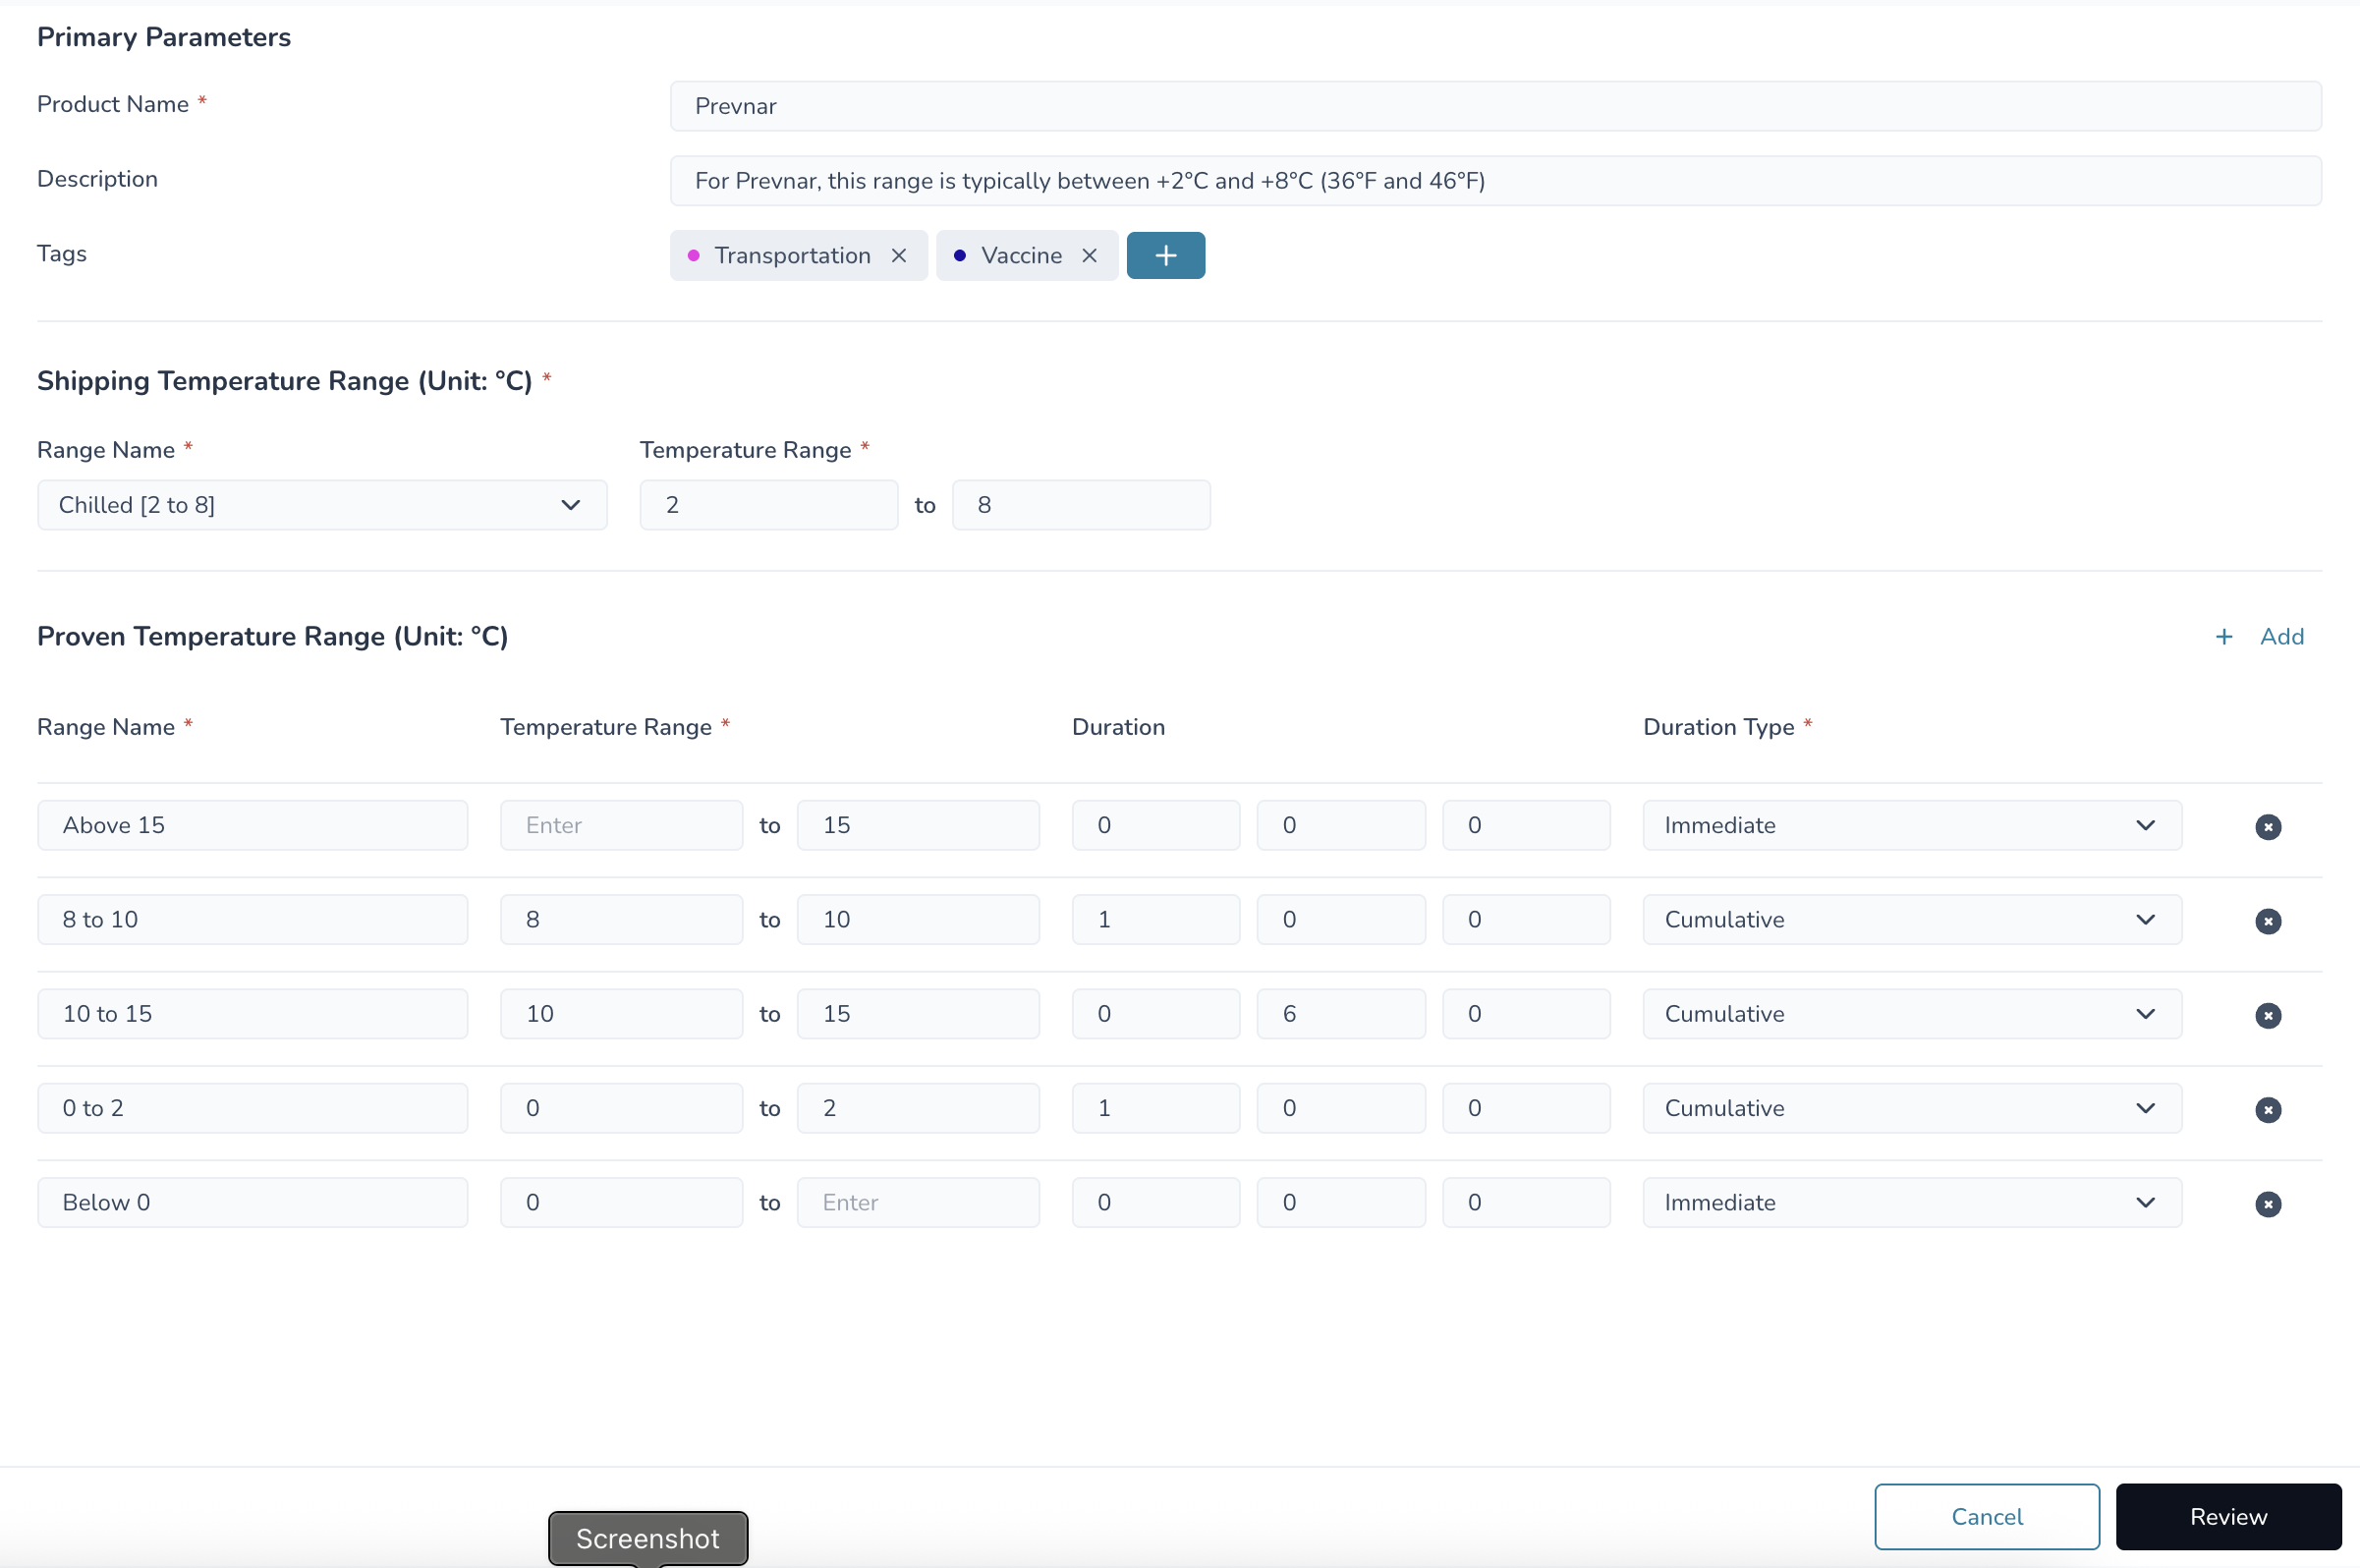
Basic Information
Product Name: Provide a descriptive name (required)
Description: Add optional details about the product
Tags: Add optional tags for easier searching and filtering
Shipping Temperature Range (STR)

The temperature range in which the product should be maintained during transportation:
Range Name: Select from preset temperature categories or "Custom":
Cryogenic [-200 to -135°C]
Deep Frozen [-135 to -85°C]
Frozen [-85 to -20°C]
Chilled [2 to 8°C]
CRT [20 to 25°C] (Controlled Room Temperature)
CRT-A [15 to 25°C]
CRT-B [2 to 25°C]
CRT-C [2 to 30°C]
CRT-D [2 to 40°C]
CRT-F [2 to 40°C]
Custom (define your own range)
Temperature Range: If "Custom" is selected, define the minimum and maximum temperatures (in °C)
Proven Temperature Range (PTR)

Multiple temperature ranges that define how long a product can be exposed to specific temperatures without compromising stability:
You can define up to 20 different temperature ranges by clicking the + Add icon
For each range, specify:
Range Name: A descriptive name (e.g., "Below -40.4", "-14.4 to -9.5")
Temperature Range: The minimum and maximum temperatures (in °C)
Duration: How long the product can be safely exposed to this temperature range
Duration Type:
Immediate: Exposure causes immediate effect, regardless of previous exposures
Cumulative: Effects accumulate over time from multiple exposures
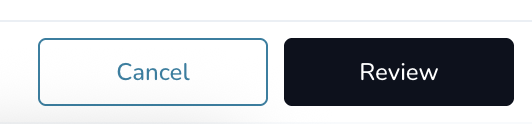
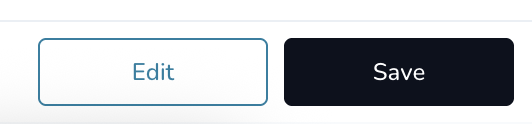
4. Review all settings and click "Review" followed by "Save"
Viewing Product Profiles
To view Product Profile details (Admin and Member roles):
Navigate to "Product Profile" section
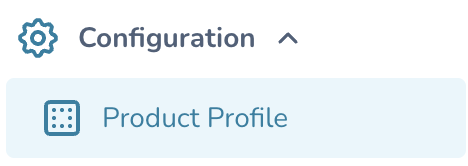
Click on the Product Profile you wish to view
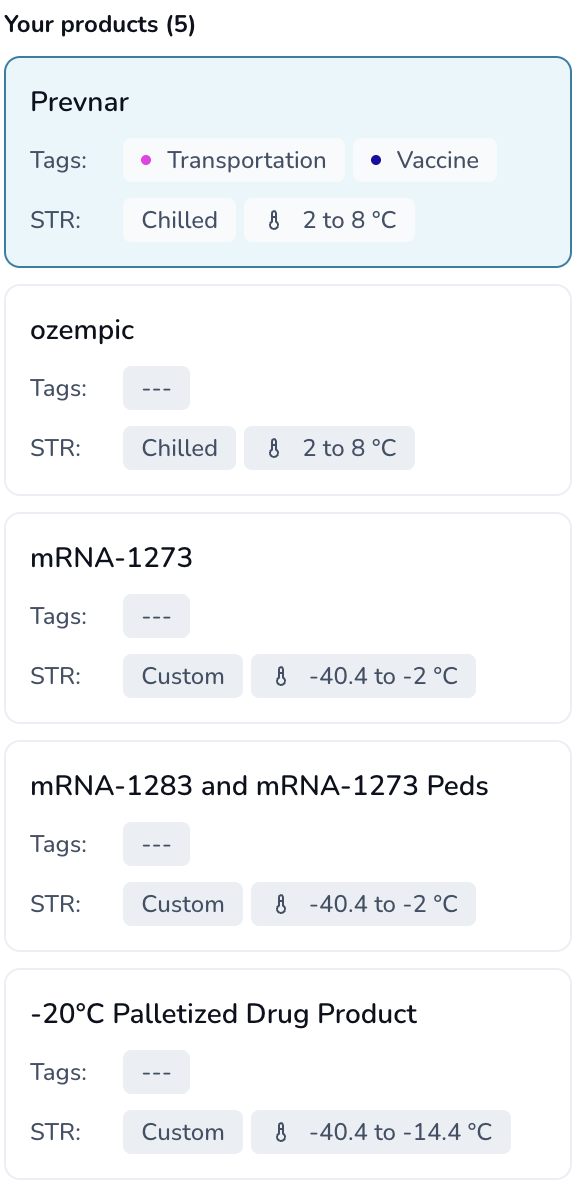
The system will display:
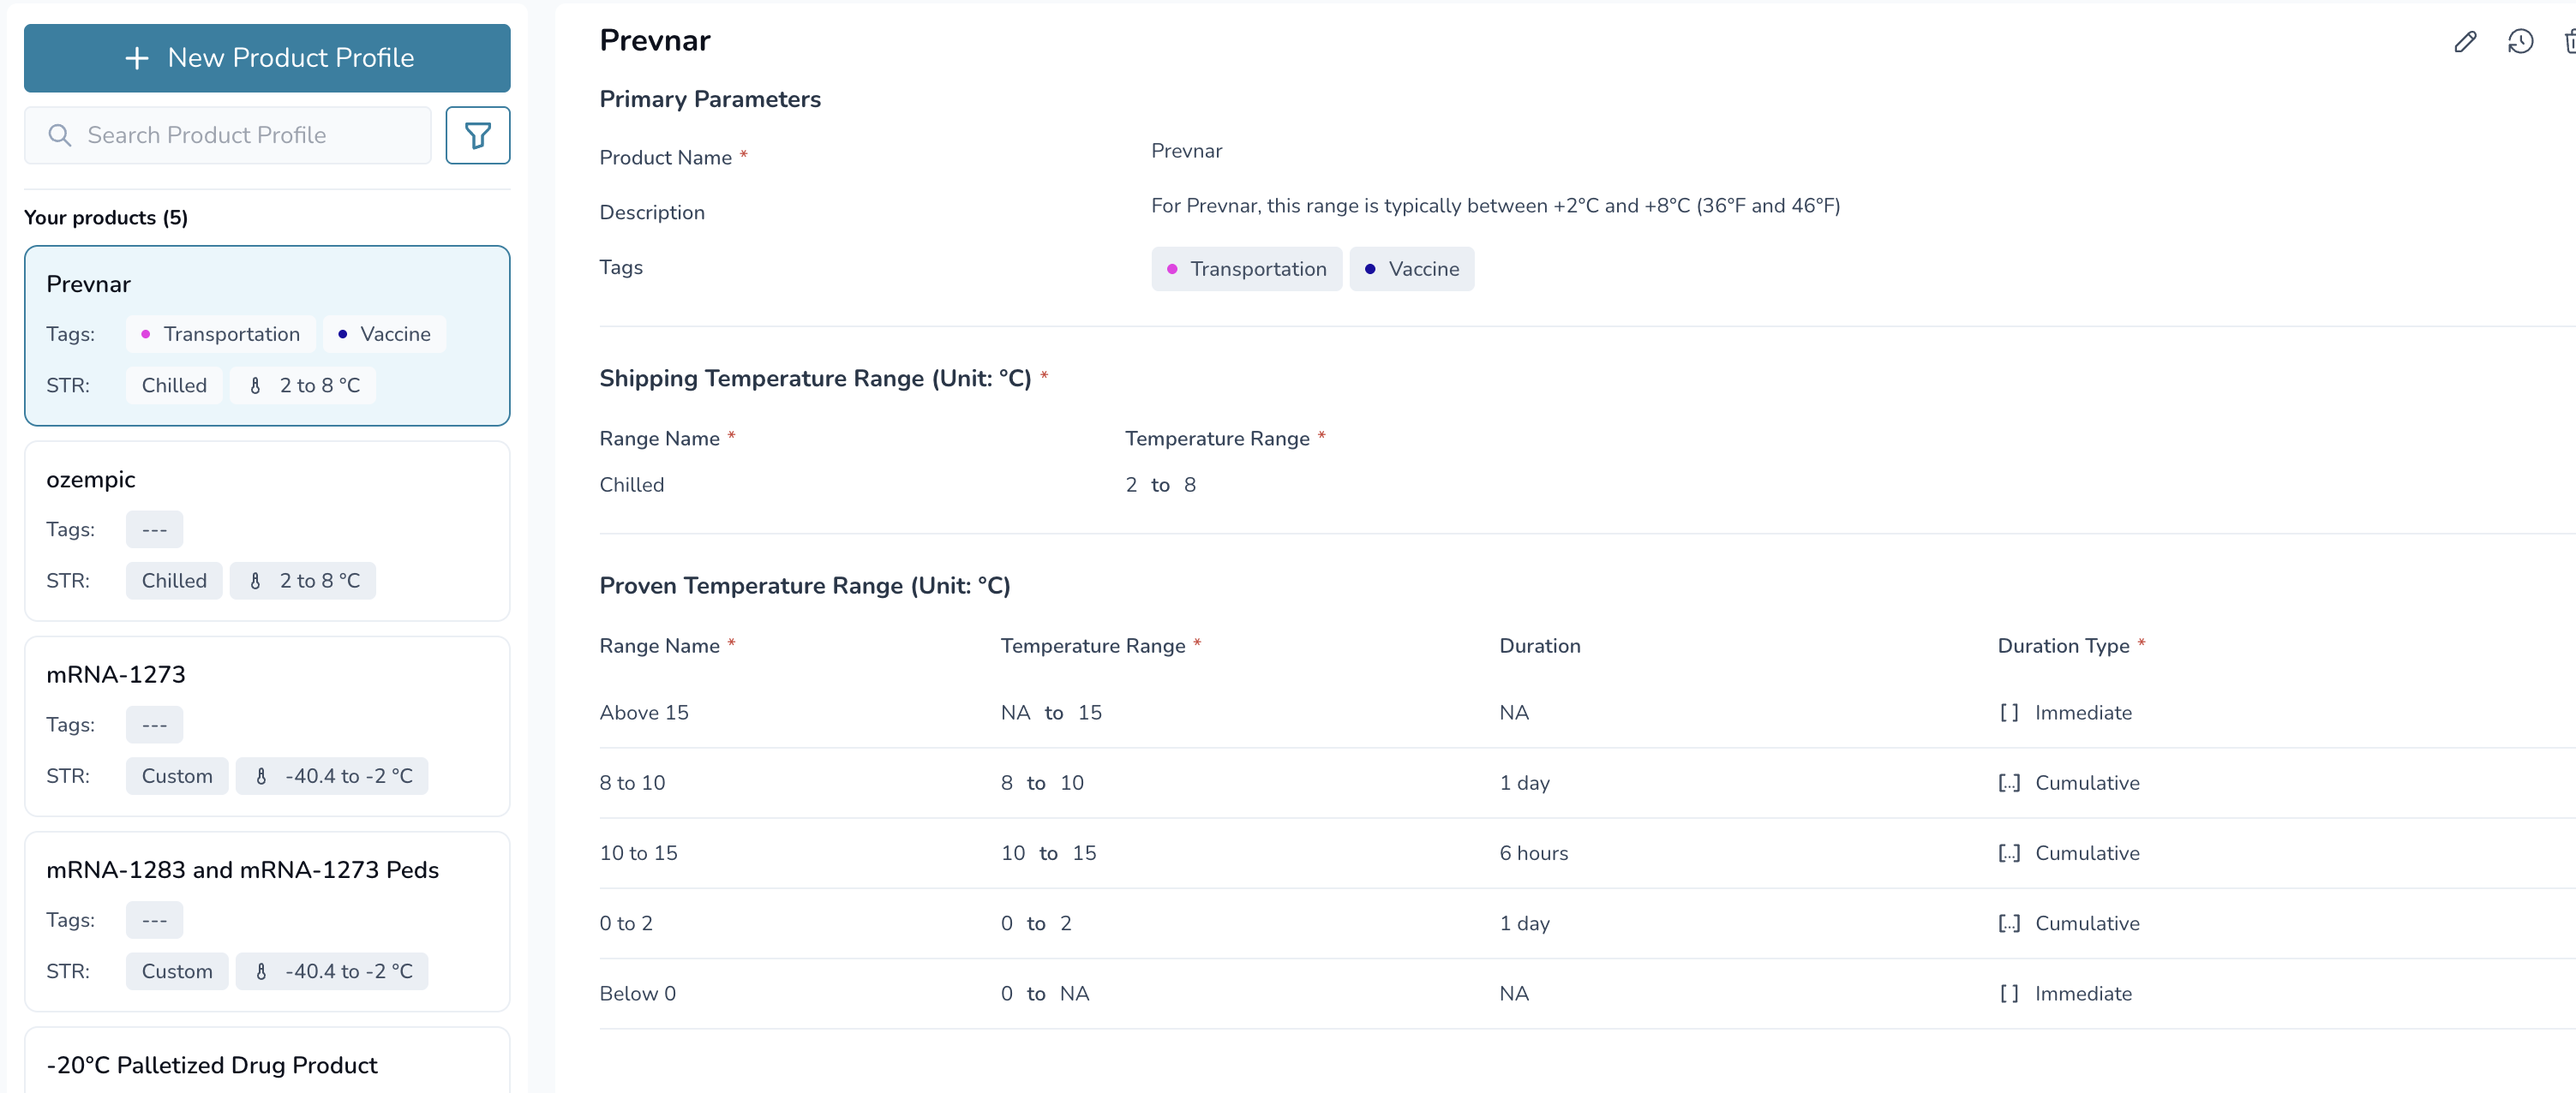
Basic information
Shipping Temperature Range (STR)
Proven Temperature Range (PTR) with configured temperature ranges and durations
Assigned tags
Activity History
GxP
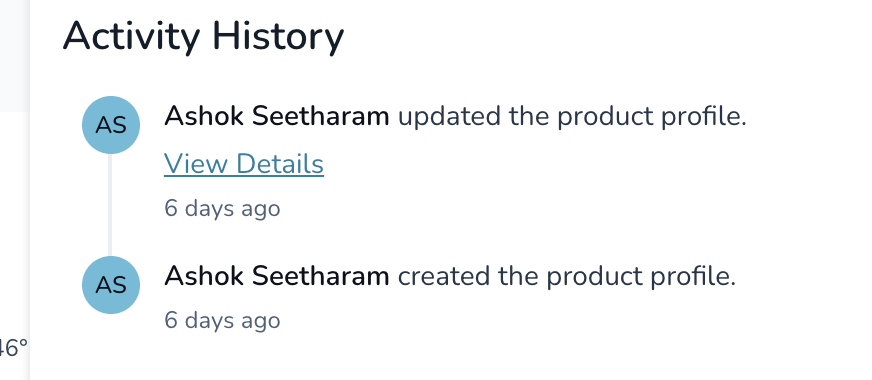
The Activity History panel shows all changes made to the Product Profile, including:
Who made the change
When the change was made
What specific parameters were changed
Before and after values
This audit trail is immutable and maintained for regulatory compliance.
Editing a Product Profile
To edit an existing Product Profile (Admin only):
Navigate to "Product Profiles" section.
Find the Product Profile you wish to edit.
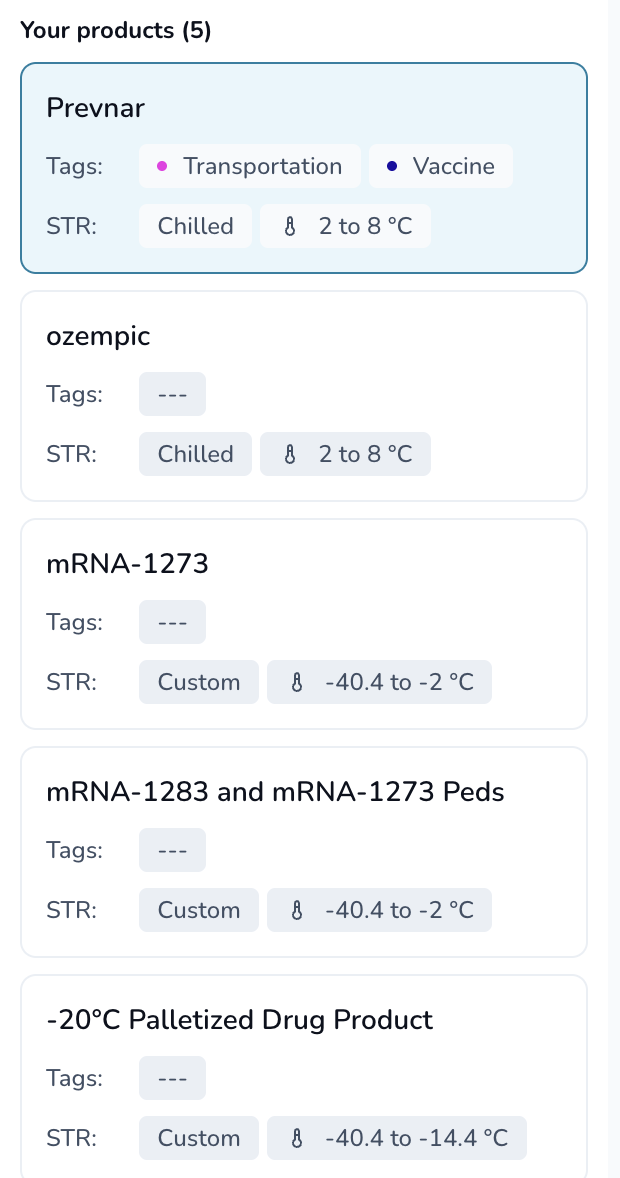
Click the "Edit" icon in the top right of the screen.

Make your desired changes.
Click "Review" followed by "Save".
Deleting a Product Profile
To delete a Product Profile (Admin only):
Navigate to "Product Profiles" section.
Find the Product Profile you wish to delete.
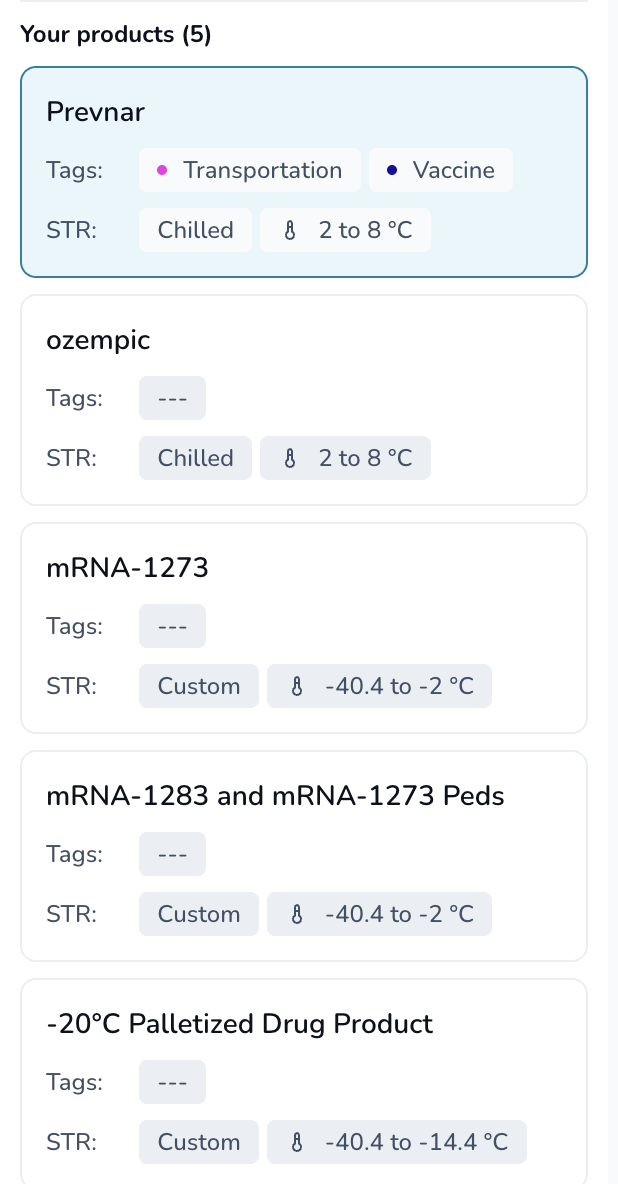
Click the delete icon.

Confirm your decision in the warning dialog.
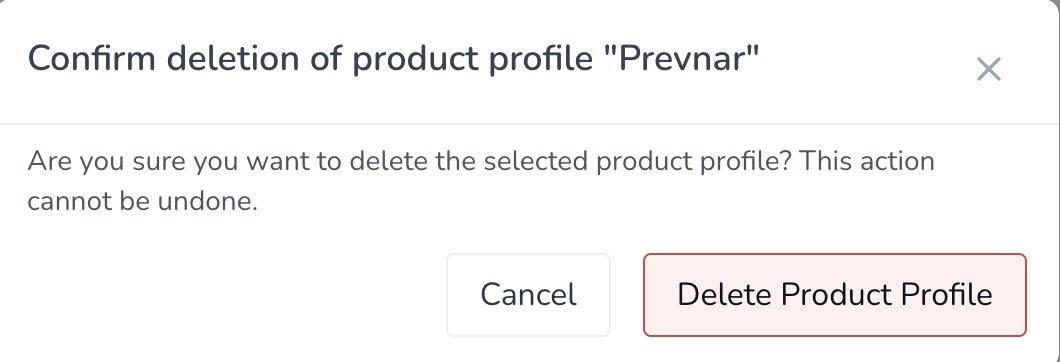
Note: This action cannot be undone, but audit logs will maintain a record of the deleted profile.
Searching and Filtering Product Profiles
Search functionality (Admin and Member roles):
Use the search bar to find Product Profiles by name or description.

Results update as you type.
Filtering options (Admin and Member roles):
Filter by tags to narrow down results.

Click on a tag to apply that filter.
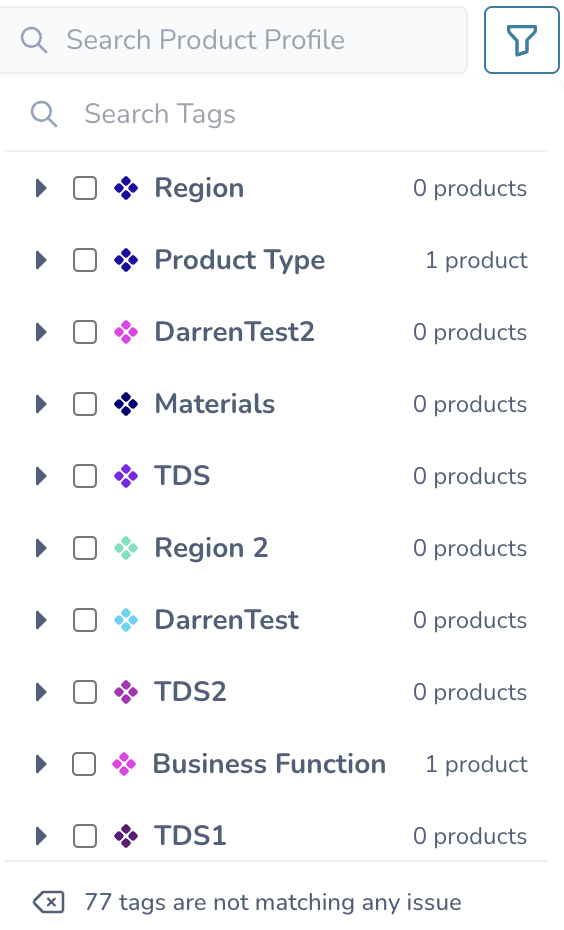
Select multiple tags to refine your search further.
Managing Tags
To add tags to a Product Profile (Admin only):
While creating or editing a Product Profile, click in the + icon next to the Tags field.

Select existing tags or create new ones.
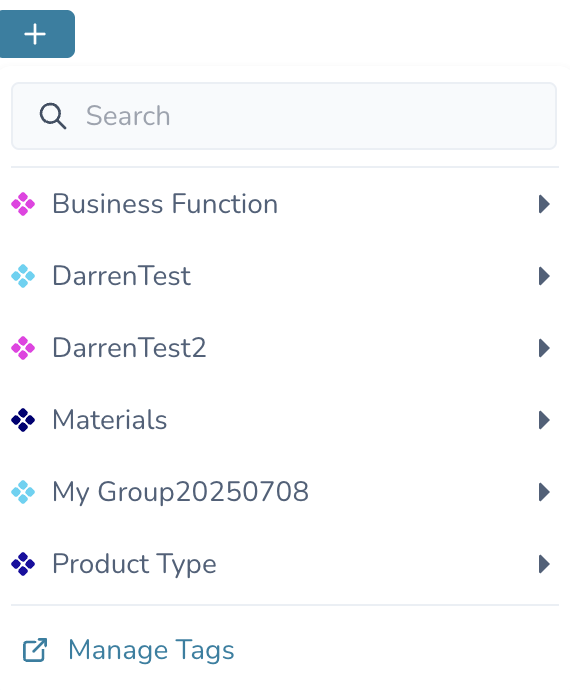
Multiple tags can be assigned to a single Product Profile.
Review and Save.
To remove tags from a Product Profile (Admin only):
While editing a Product Profile, click the "X" next to the tag you wish to remove.

Review and Save your changes.
Need Help?
If you encounter any issues with Product Profiles, please contact your platform administrator or our support team at support@paxafe.com.